
Before you start
Sign in to LOXE Hotel as an administrator or manager and select the correct property. Your property must use Schlage with Access Doors. The Schlage controls appear only for Schlage properties. If they are missing, ask LOXE support to check your configuration.
1. Prepare your locks
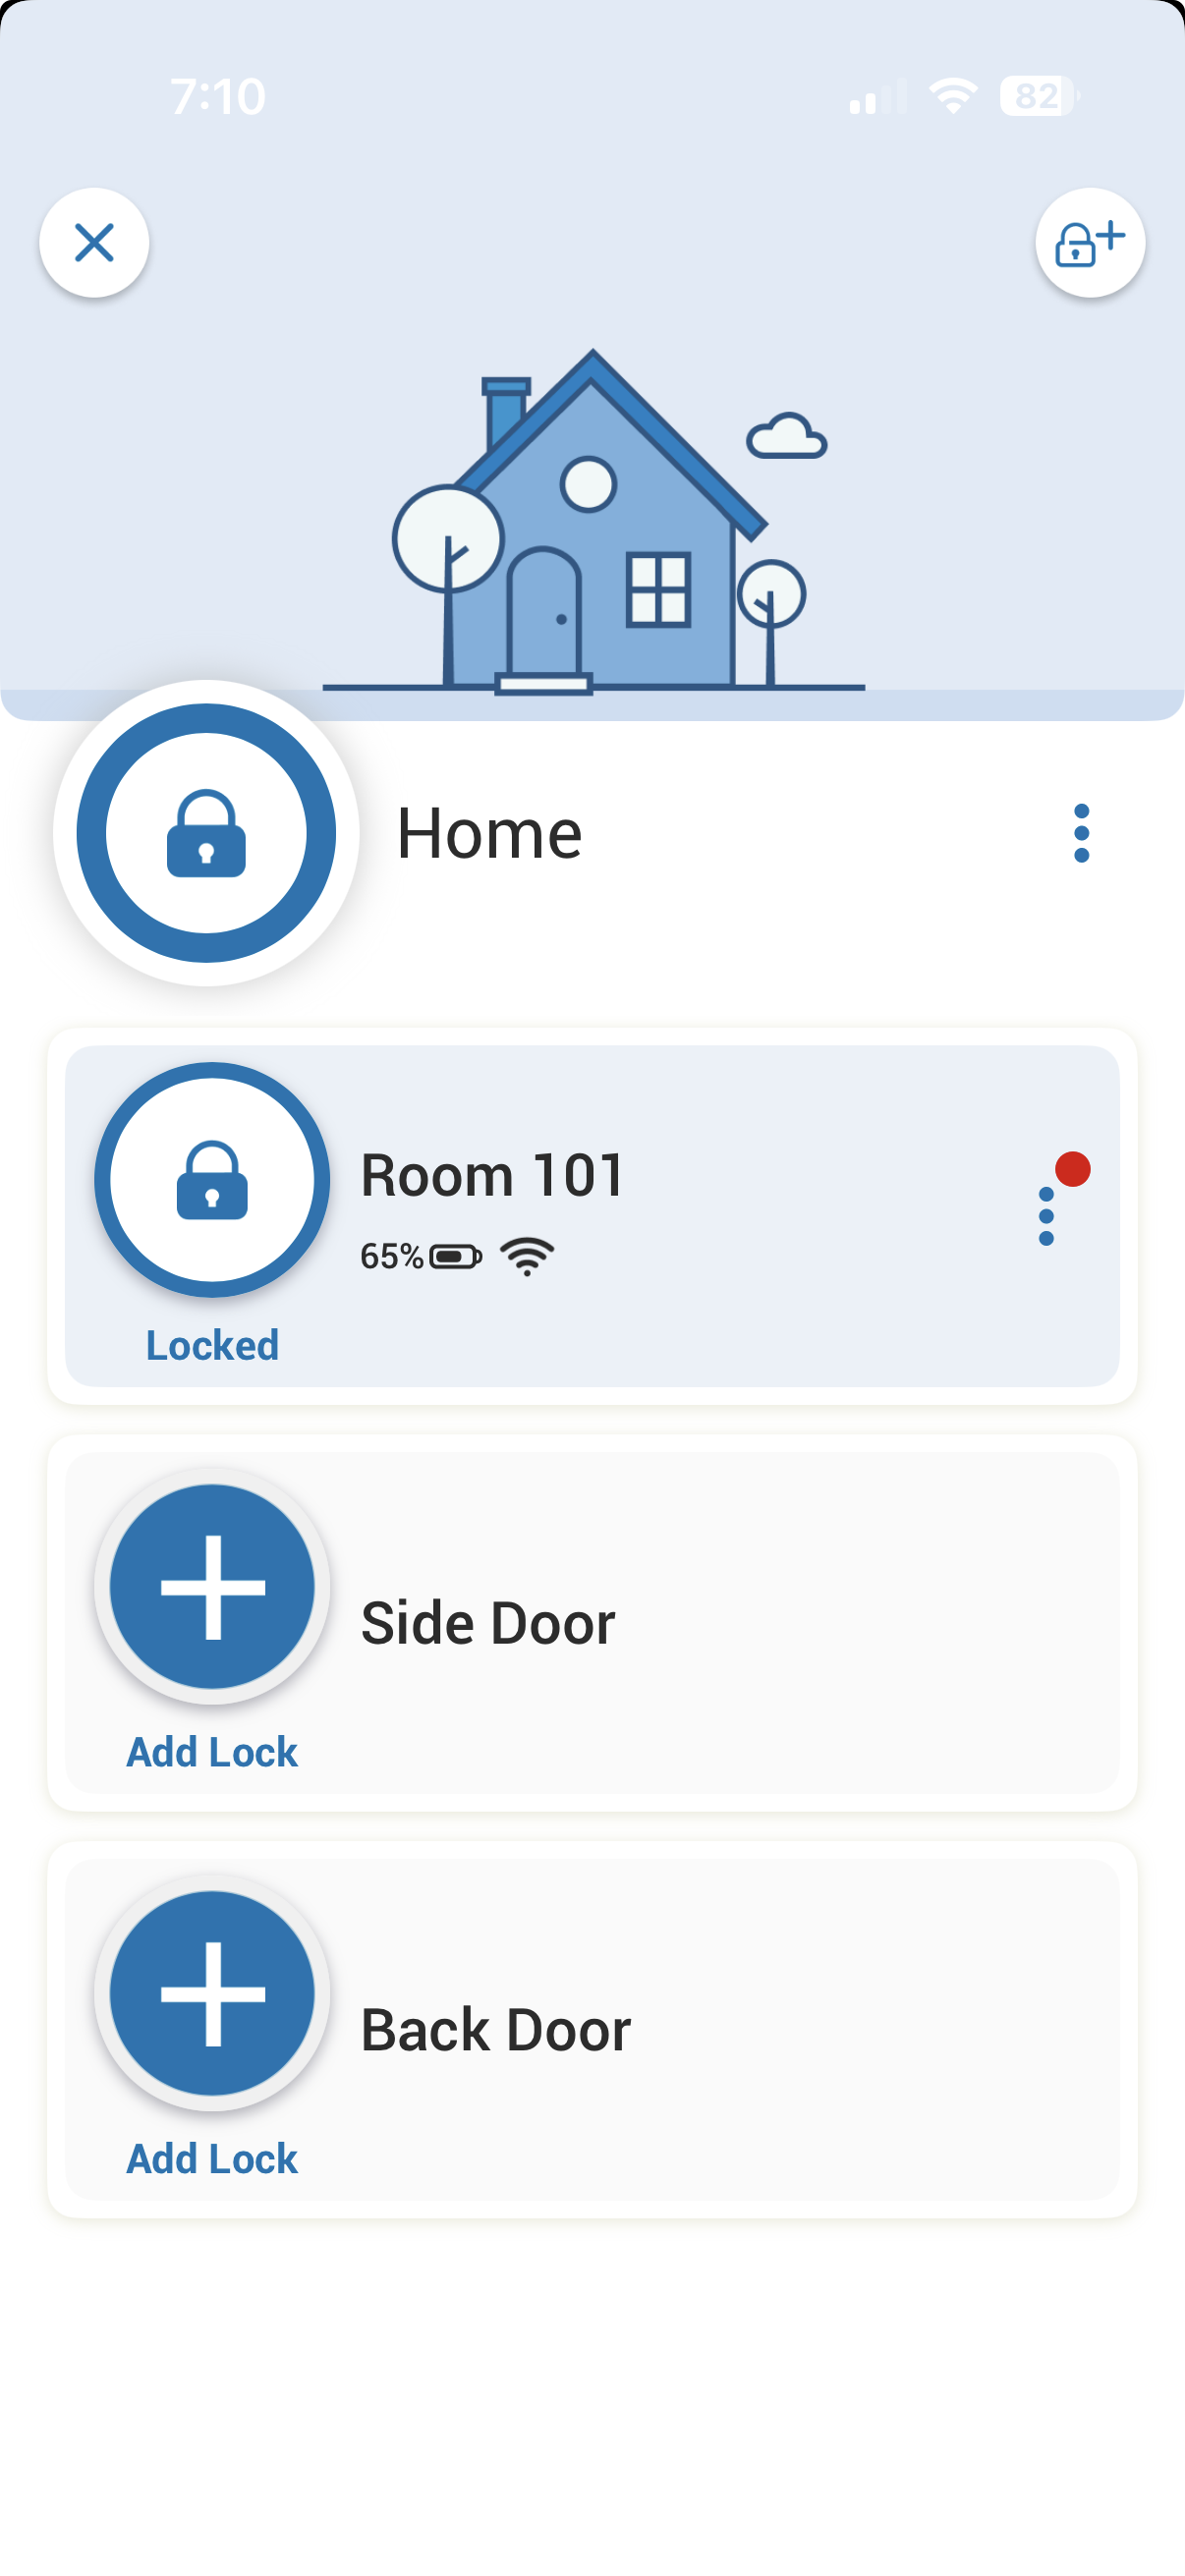
In the Schlage Home app, check that each lock is connected to Wi-Fi and online.
Give each lock a recognizable name, such as Room 101, Room 102 or Main Entrance. Have the sign-in details for the Schlage account that manages these locks ready.
2. Prepare your rooms in LOXE Hotel
Open Settings → Door Locks in LOXE Hotel. Check the property name before you begin.
Make sure your rooms and shared entrances are listed. Import rooms from your connected PMS when the import option is available, or add them on this page. The example below shows how your Schlage names should correspond to your LOXE doors.
| Lock name in Schlage | Room or entrance | Who needs access? |
|---|---|---|
| Room 101 | Room 101 | Guests staying in Room 101 |
| Room 102 | Room 102 | Guests staying in Room 102 |
| Main Entrance | Building entrance | All staying guests |
3. Connect your Schlage account
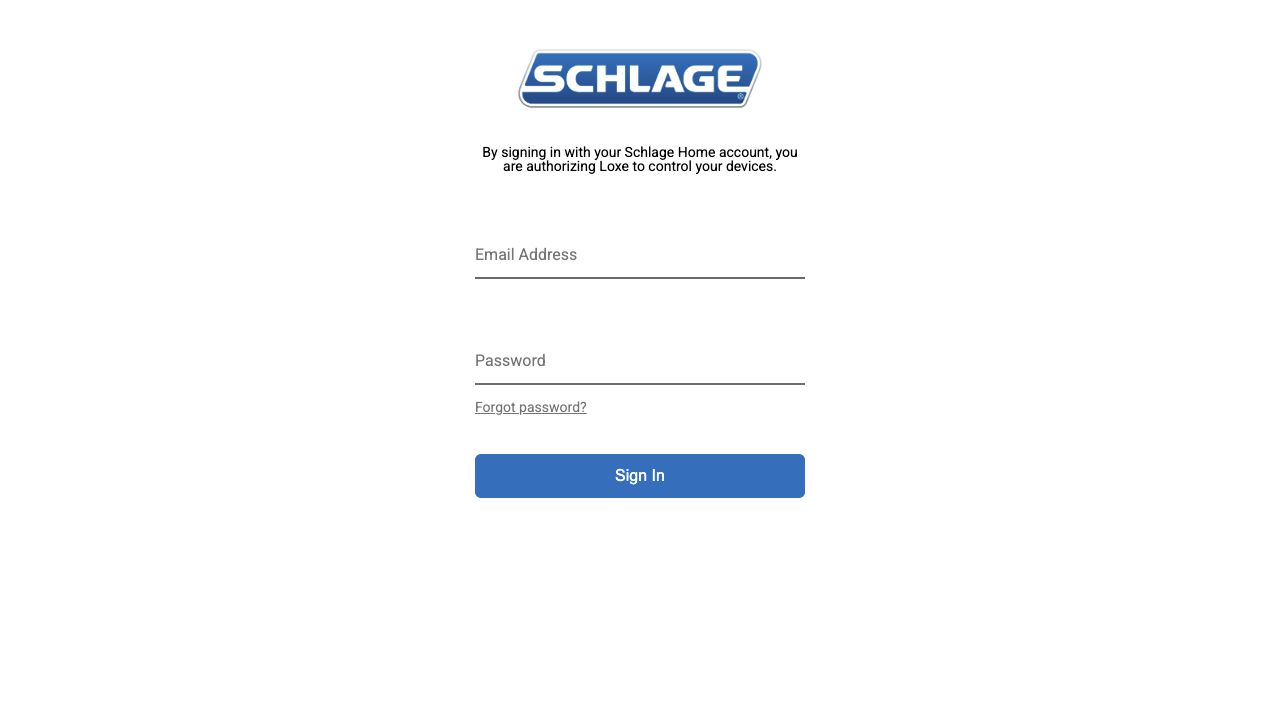
On Settings → Door Locks, find the Schlage locks section and click Connect to Schlage. You'll be taken to Schlage to authorize the connection.
- Sign in with the Schlage account that manages this property's locks.
- Read the authorization notice: signing in allows LOXE to control your Schlage devices.
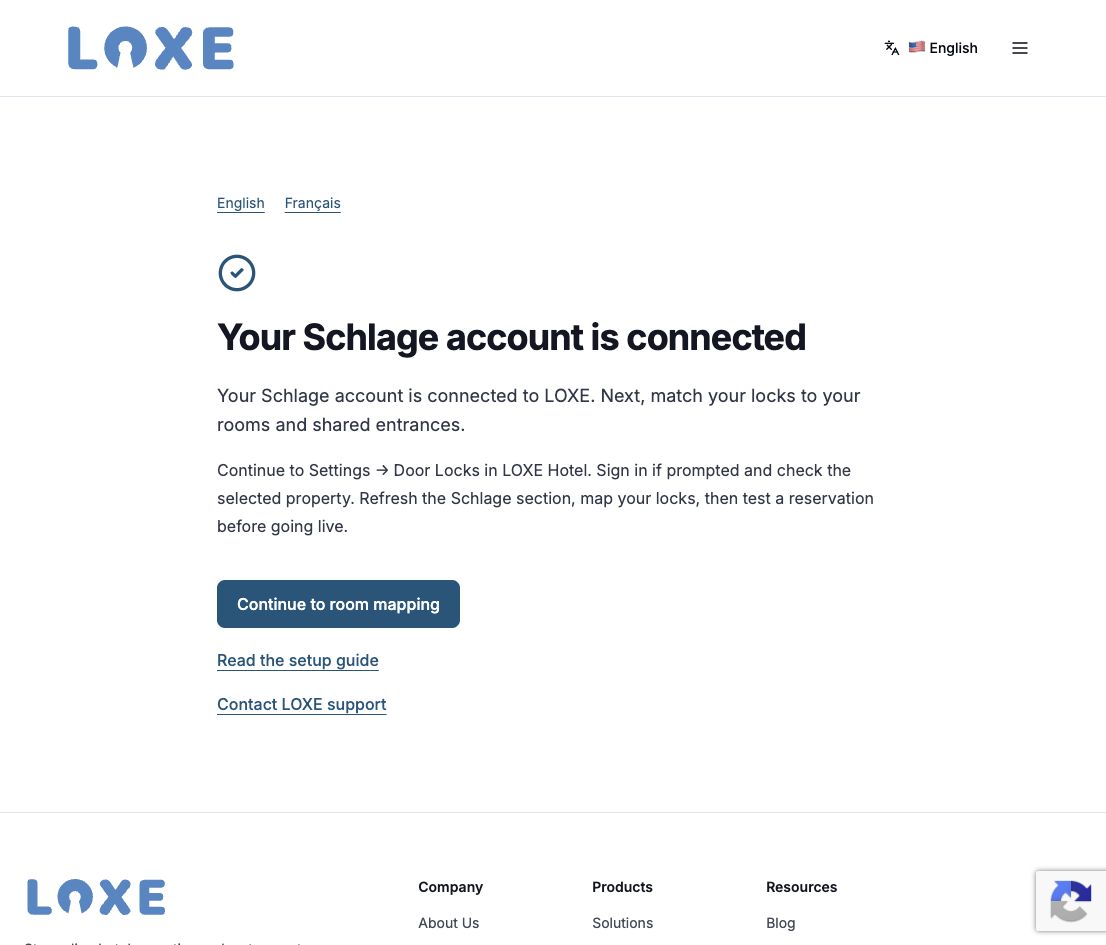
- On the LOXE confirmation page, click Continue to room mapping. Sign back in to LOXE Hotel if prompted, and check that the correct property is selected.
Enter your password only on Schlage's sign-in page. The authorization link expires after 10 minutes. If it expires, return to Door Locks and click Connect to Schlage again. If setup is incomplete, use Reconnect to Schlage.
4. Match locks to rooms and entrances
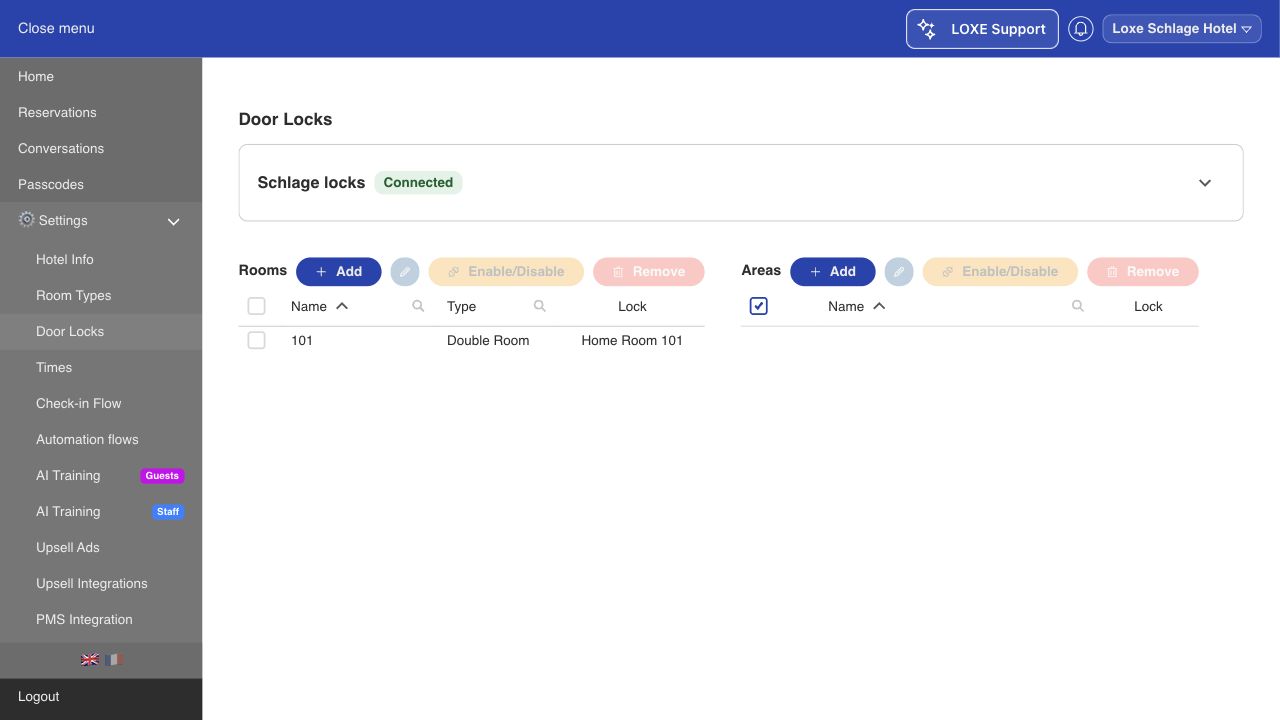
Once connected, the Schlage locks card is collapsed and displays a green Connected tag. Click the downward caret to expand it. Use Refresh if the lock list is not up to date.
Choose a Schlage lock, select the matching LOXE room or shared entrance, then click Map lock. Repeat for each door. Confirm each association in the Lock column of the Rooms/Areas table. You can then collapse the Schlage card again.
Already mapped locks and doors are excluded from the selection. To replace or remove an existing association, contact LOXE support so existing guest access can be checked first.
For shared entrances, also check the room and area access settings so each guest receives access to the entrances they need. Mapping a physical lock does not choose which guests may use it.
5. Test before welcoming guests
Create a test reservation and check that:
- The guest receives their access information.
- The code opens the assigned room and required shared entrances.
- Access follows the reservation's check-in and checkout times.
- The code stops working after access is cancelled and removal is confirmed.
Only start using the setup for real guests once these checks pass. Contact LOXE support if you need help with the test or shared-entrance access.
Need help?
Contact LOXE support with your property name and the step where you're stuck.
Contact LOXE support